

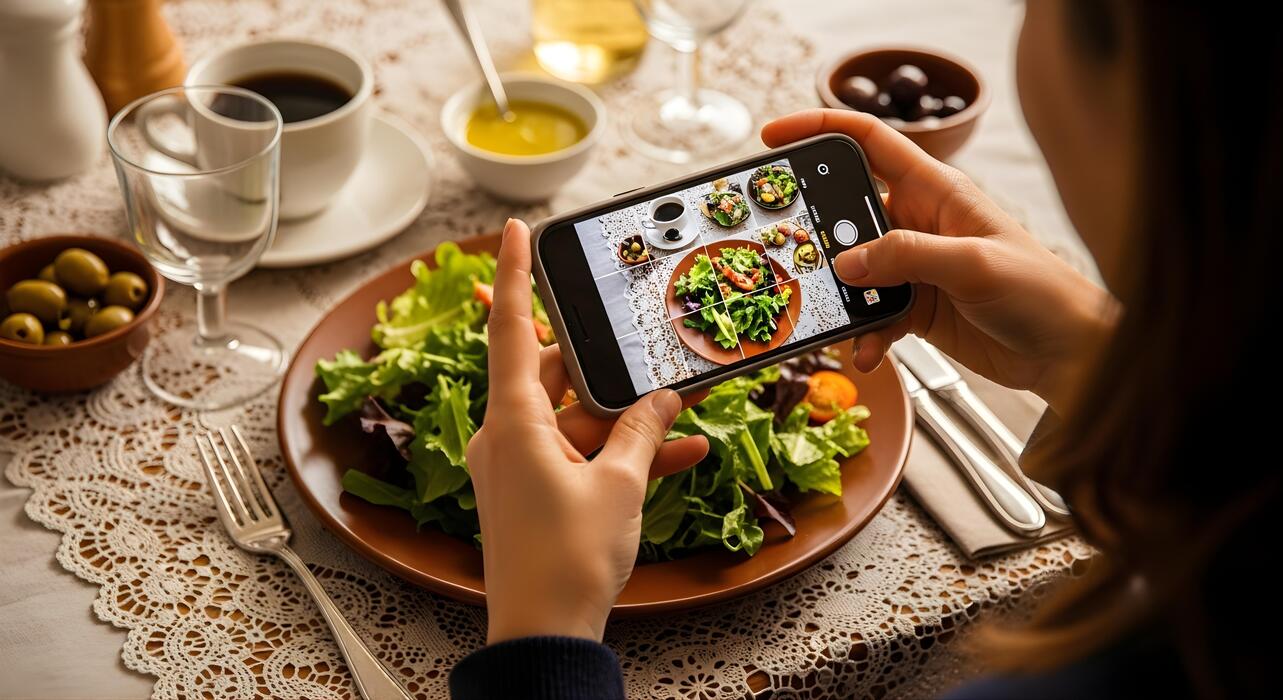
In the digital landscape, people eat with their eyes long before they ever taste a dish. Social media platforms, particularly Instagram, have transformed food from simple sustenance into a highly visual art form. A single compelling photograph can launch a food blog, drive hundreds of customers to a local restaurant, or turn a simple home recipe into a viral sensation.
However, capturing a stunning food photograph requires more than just pointing a smartphone at a plate. Professional food styling is a deliberate craft that blends culinary knowledge, artistic design principles, and photographic technique. It is the art of arranging, modifying, and presenting food so that it looks incredibly appetizing on camera. Whether you are an aspiring food influencer, a restaurant owner, or a home cook looking to elevate your digital presence, mastering these fundamental food styling techniques will transform your feed from amateur to extraordinary.
The Foundation of Natural Light and Composition
The most expensive camera equipment cannot save a photograph ruined by poor lighting and chaotic composition. Before manipulating the food itself, you must establish a strong visual foundation.
Embracing Soft, Directional Natural Light
Artificial overhead kitchen lighting is the ultimate enemy of beautiful food photography. It introduces harsh yellow casts and unflattering shadows. Instead, set up your styling station near a large window. Soft, indirect daylight is the global standard for food styling.
-
Side Lighting: Position the window to the left or right of your plate. Side lighting highlights the textures, cracks, and layers of the food, giving it a three-dimensional appearance.
-
Backlighting: Placing the light source directly behind the food is highly effective for glossy items, soups, and beverages. It makes liquids glow and accentuates rising steam or individual droplets.
-
Diffusion and Reflection: If the sunlight is too intense, hang a sheer white curtain to soften the rays. Use a simple piece of white foam board opposite the window to bounce light back onto the shadowed side of the plate, softening contrast.
Strategic Compositional Layouts
Great food photos guide the viewer’s eye exactly where the stylist wants it to go.
-
The Overhead Shot (Flat Lay): Perfect for modern, graphic compositions, such as organized grain bowls, pizzas, and large tablescapes. It eliminates depth, focusing entirely on shape, color, and geometric arrangement.
-
The 45-Degree Angle: This perspective mimics the view of a person sitting down at a table to eat a meal. It is incredibly versatile, allowing you to capture both the top surface and the vertical height of a dish.
-
The Rule of Thirds: Imagine dividing your frame into a grid of nine equal rectangles. Place your main focal point—such as the yolk of a fried egg or the drip of a sauce—at one of the intersecting points to create a balanced, dynamic image.
Building Texture and Layering
Flat, uniform food looks unappealing on a screen. The goal of a food stylist is to create a sensory experience where the viewer can almost feel the crunch of a crust or the creaminess of a sauce just by looking at the photo.
Playing with Height and Dimensions
When plating, build upward rather than outward. A flat pile of pasta looks uninspired, but twirling the noodles into a high, tight nest using a carving fork creates immediate visual interest. Stack cookies or pancakes vertically to form towering shapes that dominate the frame. Use small hidden objects, like a crumpled piece of parchment paper or a small porcelain ramekin placed upside down inside a bowl, to prop up ingredients and prevent them from sinking to the bottom of a soup or stew.
Incorporating Complementary Garnishes
Garnishes should never be a random afterthought. They must relate logically to the flavor profile of the dish while introducing contrasting colors and textures.
-
Contrast: Sprinkle bright green microgreens or chopped chives onto a monochromatic brown stew to break up the color.
-
Freshness: Add a few raw, vibrant individual raspberries on top of a baked raspberry tart to hint at the freshness within.
-
Texture: Utilize a dust of flaky sea salt, crushed toasted nuts, or cracked black pepper to break up smooth surfaces like purées or frostings, giving the lens something sharp to focus on.
Industry Secrets: Tools of the Trade
Professional food stylists rely on an arsenal of non-culinary tools to keep food looking pristine during long photoshoots. You can easily replicate these tactics at home using everyday household items.
The Precision Toolkit
Keep a dedicated styling kit next to your photography set. Essential items include:
-
Tweezers: Long kitchen tweezers allow you to place individual sesame seeds, micro-herbs, or stray crumbs with absolute precision without disturbing the rest of the plate.
-
Cotton Swabs: Dip a cotton swab in warm water or rubbing alcohol to cleanly wipe away unwanted splatters, smudges, or grease spots along the rim of your serving bowls.
-
Paintbrushes: A small, clean artist’s paintbrush is invaluable for brushing a light coat of vegetable oil onto grilled meats or vegetables, instantly restoring their juicy, freshly cooked sheen right before you snap the picture.
-
Medicine Droppers: Use a dropper to place exact pools of sauce, syrup, or oil precisely where they will catch the light beautifully.
The Illusion of Freshness
Food changes rapidly as it sits at room temperature. Salads wilt, meats dry out, and ice cream melts within minutes. Stylists use clever substitutes to combat time.
-
The Fake Ice Trick: Real ice cubes melt quickly and dilute beverages, ruining the glass aesthetic. Use clear acrylic reusable ice cubes for drinks; they sink naturally and look flawless indefinitely under hot lights.
-
Browning with Kitchen Bouillon: Instead of cooking a turkey or chicken completely until it dries out and shrivels, stylists often sear the meat briefly and paint the exterior with a mixture of dark kitchen bouillon and water to create a perfectly plump, golden-brown roasted appearance.
Props and Backgrounds: Setting the Narrative
The props and backgrounds you choose dictate the mood, story, and brand identity of your social media feed. They should enhance the food, never distract from it.
Selecting Matte and Neutral Surfaces
Glossy surfaces reflect light unpredictably and create distracting hot spots in your final image. Choose matte backgrounds that absorb light beautifully. Highly effective options include weathered wooden boards, slate tiles, matte ceramic slabs, or simple neutral-colored linen tablecloths. Soft grays, muted whites, and earthy tones ensure that the vibrant colors of the food remain the undisputed star of the photograph.
The Art of Controlled Chaos
A sterile, perfectly clean table can feel clinical and uninviting. To make a scene feel authentic and lived-in, inject elements of human element or controlled chaos. Place a loosely folded linen napkin next to the plate, scatter a few stray crumbs of artisanal bread naturally on the board, or leave a partially used ingredient—like a halved lemon or a handful of raw spices—in the soft-focus background. This storytelling approach makes the viewer feel as though they have just stumbled upon a real, delicious moment in time.
Frequently Asked Questions
How do I prevent sliced fruits like apples and bananas from turning brown during a long shoot?
Oxidation causes certain fruits to turn brown quickly when exposed to oxygen. To prevent this, submerge the sliced fruit in a bowl of cold water mixed with a generous splash of lemon juice or apple cider vinegar for a few minutes before styling. The acidity deactivates the enzymes responsible for browning, keeping the fruit bright and crisp for hours.
What is the best alternative to using real ice cream for a social media photo?
Real ice cream melts far too quickly under styling lights. Professional stylists often create a convincing replica by thoroughly mixing together solid vegetable shortening, powdered sugar, and a few drops of food coloring until it reaches the exact consistency of frosting. This mixture can be scooped with a traditional ice cream scoop, holds its shape indefinitely at room temperature, and creates realistic ridges and textures on camera.
How can I make carbonated drinks stay bubbly and fizzy for a prolonged period?
The natural carbonation in sodas and cocktails dissipates rapidly once poured. To revive a flat beverage during a shoot, drop a small pinch of standard granulated sugar or a tiny piece of an effervescent antacid tablet into the glass right before taking the shot. The reaction creates an immediate, fresh eruption of bubbles and foam that looks incredibly dynamic.
How do I photograph hot soups and stews without the ingredients sinking to the bottom?
High-density ingredients like chunks of meat, potatoes, and vegetables naturally sink below the surface of broths and liquids, leaving the bowl looking empty and unappealing. To solve this, fill the bottom of your serving bowl with a layer of clear glass marbles, crumpled plastic wrap, or a small inverted ramekin. Pour the soup over this hidden foundation; the solid ingredients will sit high on top of the barrier, remaining perfectly visible to the camera lens.
Why do my cooked green vegetables look dull and yellowish on camera, and how can I fix it?
Cooking green vegetables for too long breaks down their chlorophyll, turning them a muddy olive color. To preserve a vivid, neon-green look for photography, blanch the vegetables. Boil them in salted water for sixty to ninety seconds, then plunge them immediately into a bowl filled with ice water. This halts the cooking process instantly, locking in a vibrant color that pops beautifully on screen.
How can I create the perfect condensation effect on a cold beverage bottle or glass?
Natural condensation melts away quickly and creates uneven drips. To create a permanent, beautiful mist effect, mix equal parts of liquid glycerin (available at most pharmacies) and water in a small spray bottle. Mist the exterior of the clean glass or aluminum can with the solution. The glycerin prevents the droplets from running down the surface, leaving a perfect, frosty look that lasts for hours under warm studio lights.
